You can quickly navigate to this page using
Learn more about all shortcuts here.
G then N.Learn more about all shortcuts here.
1
Open the Notes view
From the left-hand navigation bar, select Notes to open the notes list.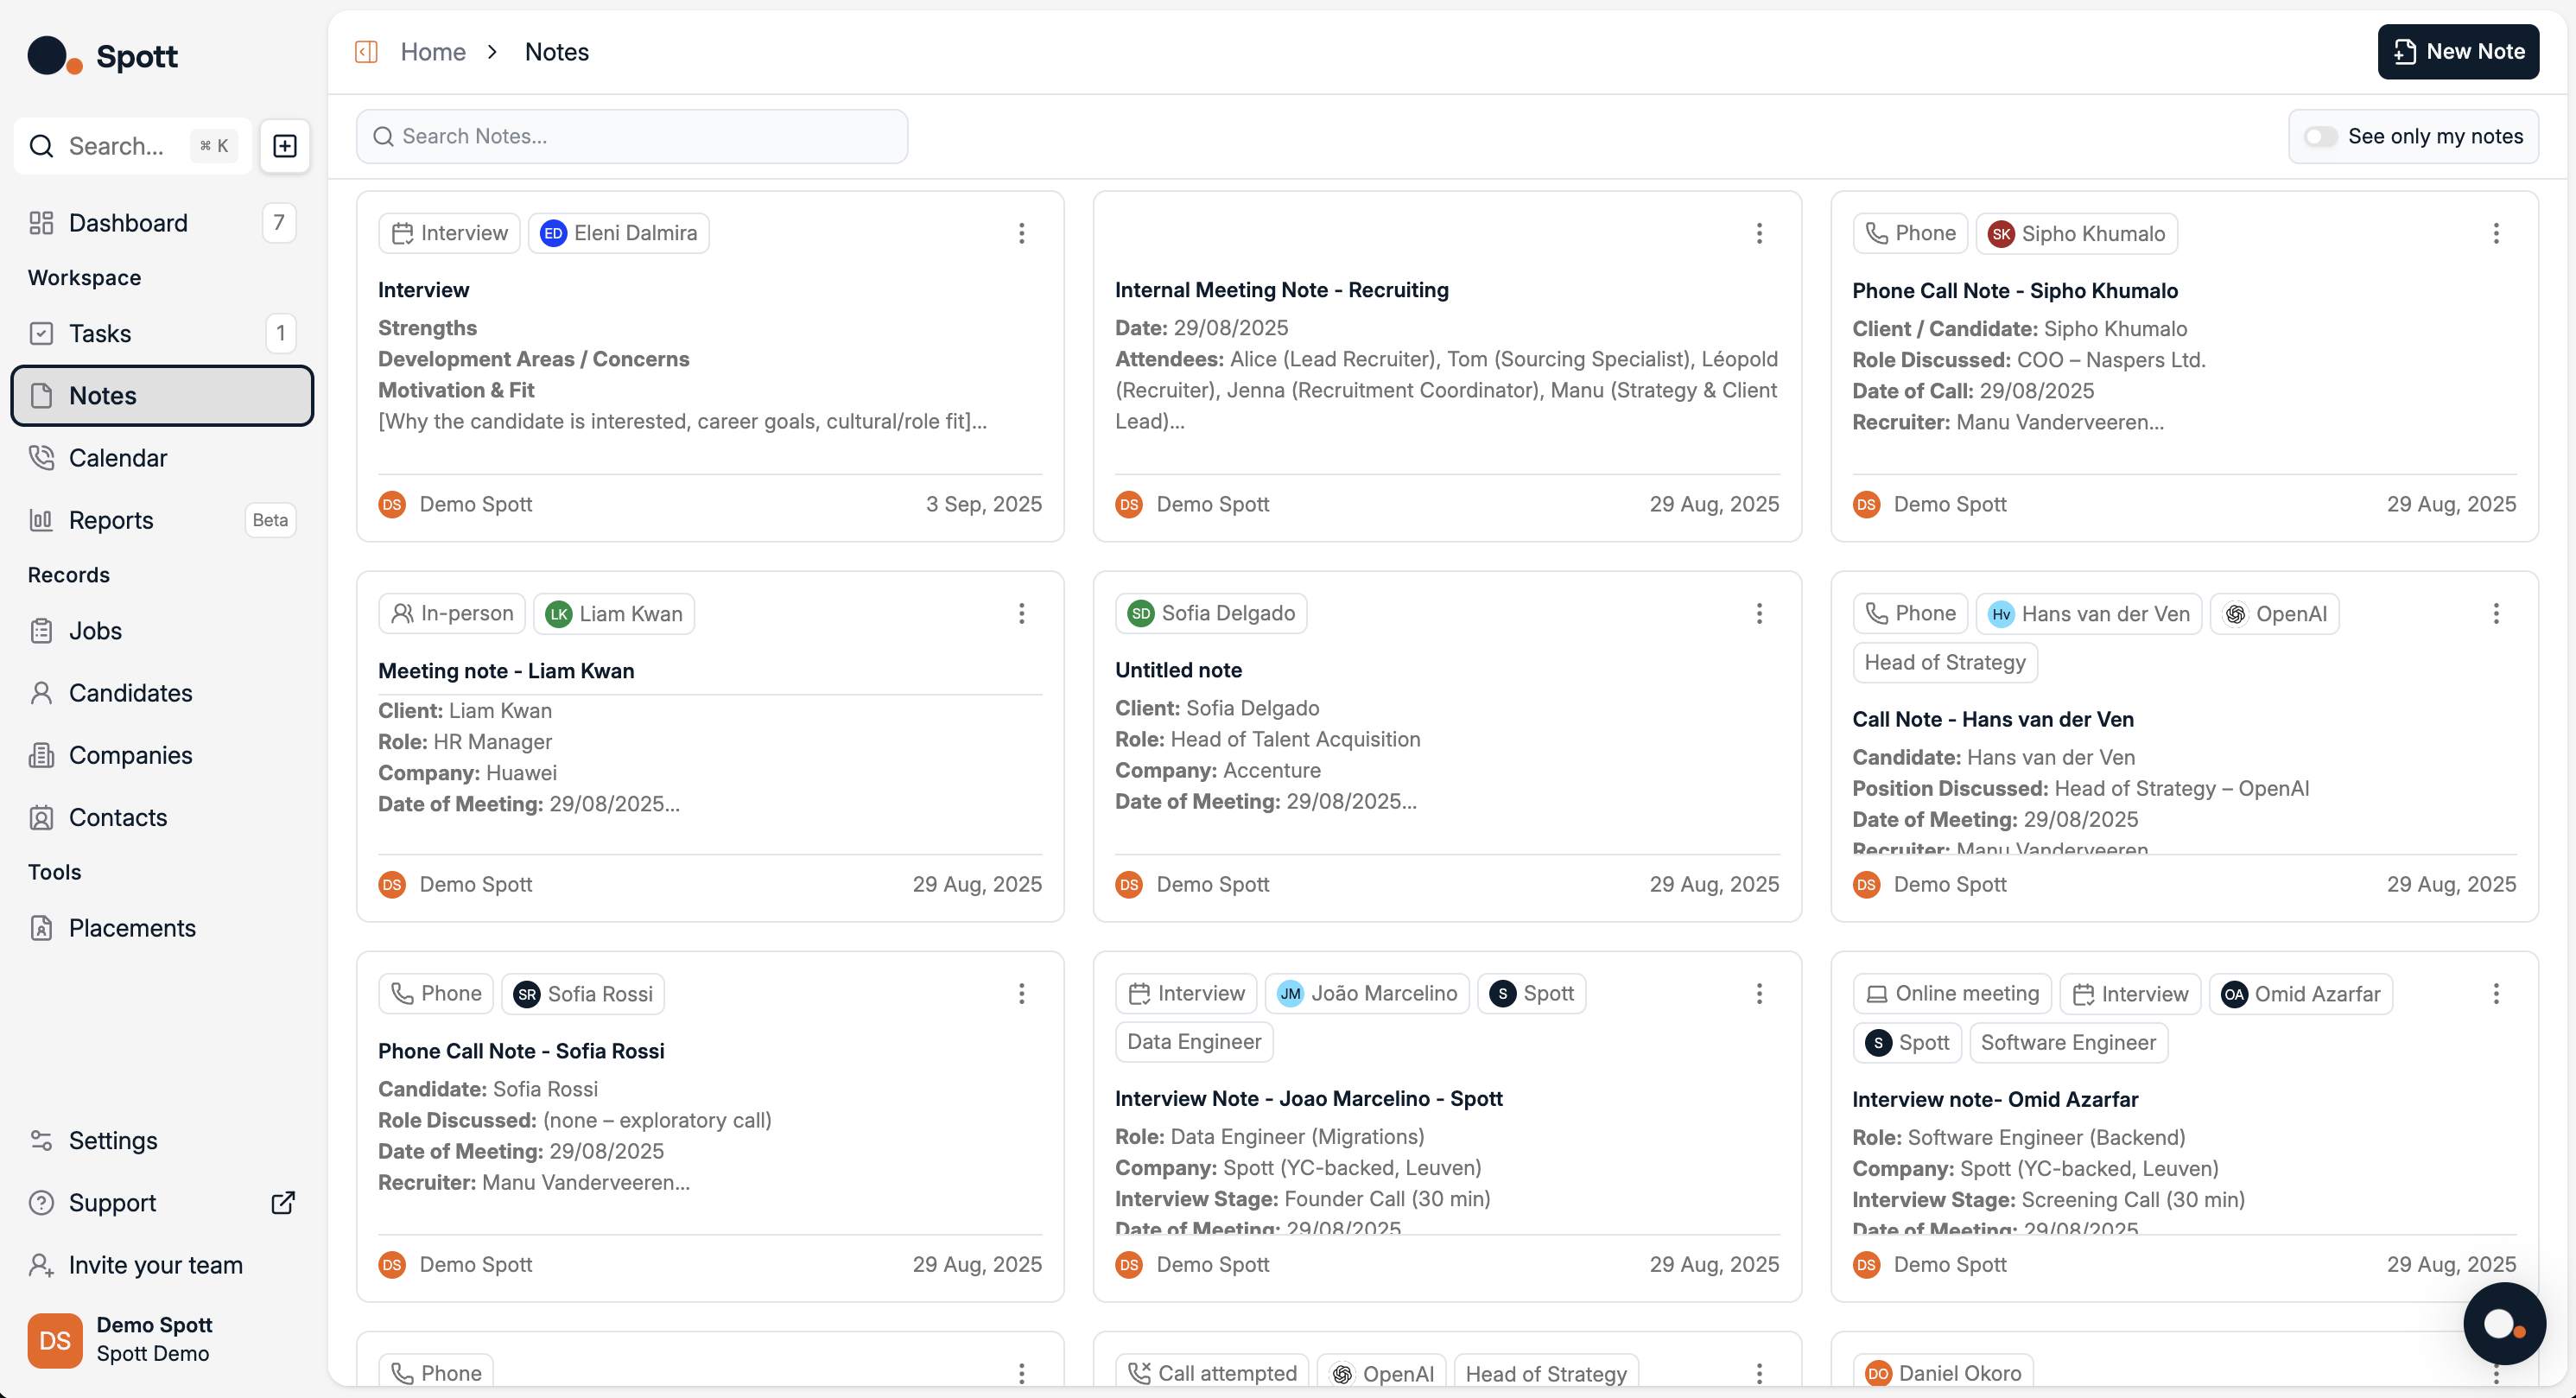
2
Add a new note
Click Add Note. A pop-up editor opens.
- Link meeting — Attach the note to a specific calendar meeting.
- Meeting type — Categorize the meeting (e.g., intro, debrief).
- Mark as interview — Flag the note as interview-related.
- Link person — Connect to a candidate or client contact.
- Link client — Attach to a client company.
- Link job — Associate with a job record.
- Select a template — Insert a company-created note template for consistent structure.
Notes save automatically. You don’t need to click Save — moving to another page keeps your changes.
3
Where your note appears
Linked notes are visible in multiple places:
- The main Notes list
- The Person (candidate or client contact) profile you linked
- The Client company profile you linked
- The Job record you linked
- The Meeting entry if one was attached
Open any linked record and go to its Notes tab to see the same note in context.
Use your company templates to keep note-taking consistent across the team (e.g., interview debriefs or client call summaries).