You can quickly navigate to this page using
Learn more about all shortcuts here.
G then O.Learn more about all shortcuts here.
1
Open the Contacts view
From the left-hand navigation bar, go to Contacts to see all client contacts in your system.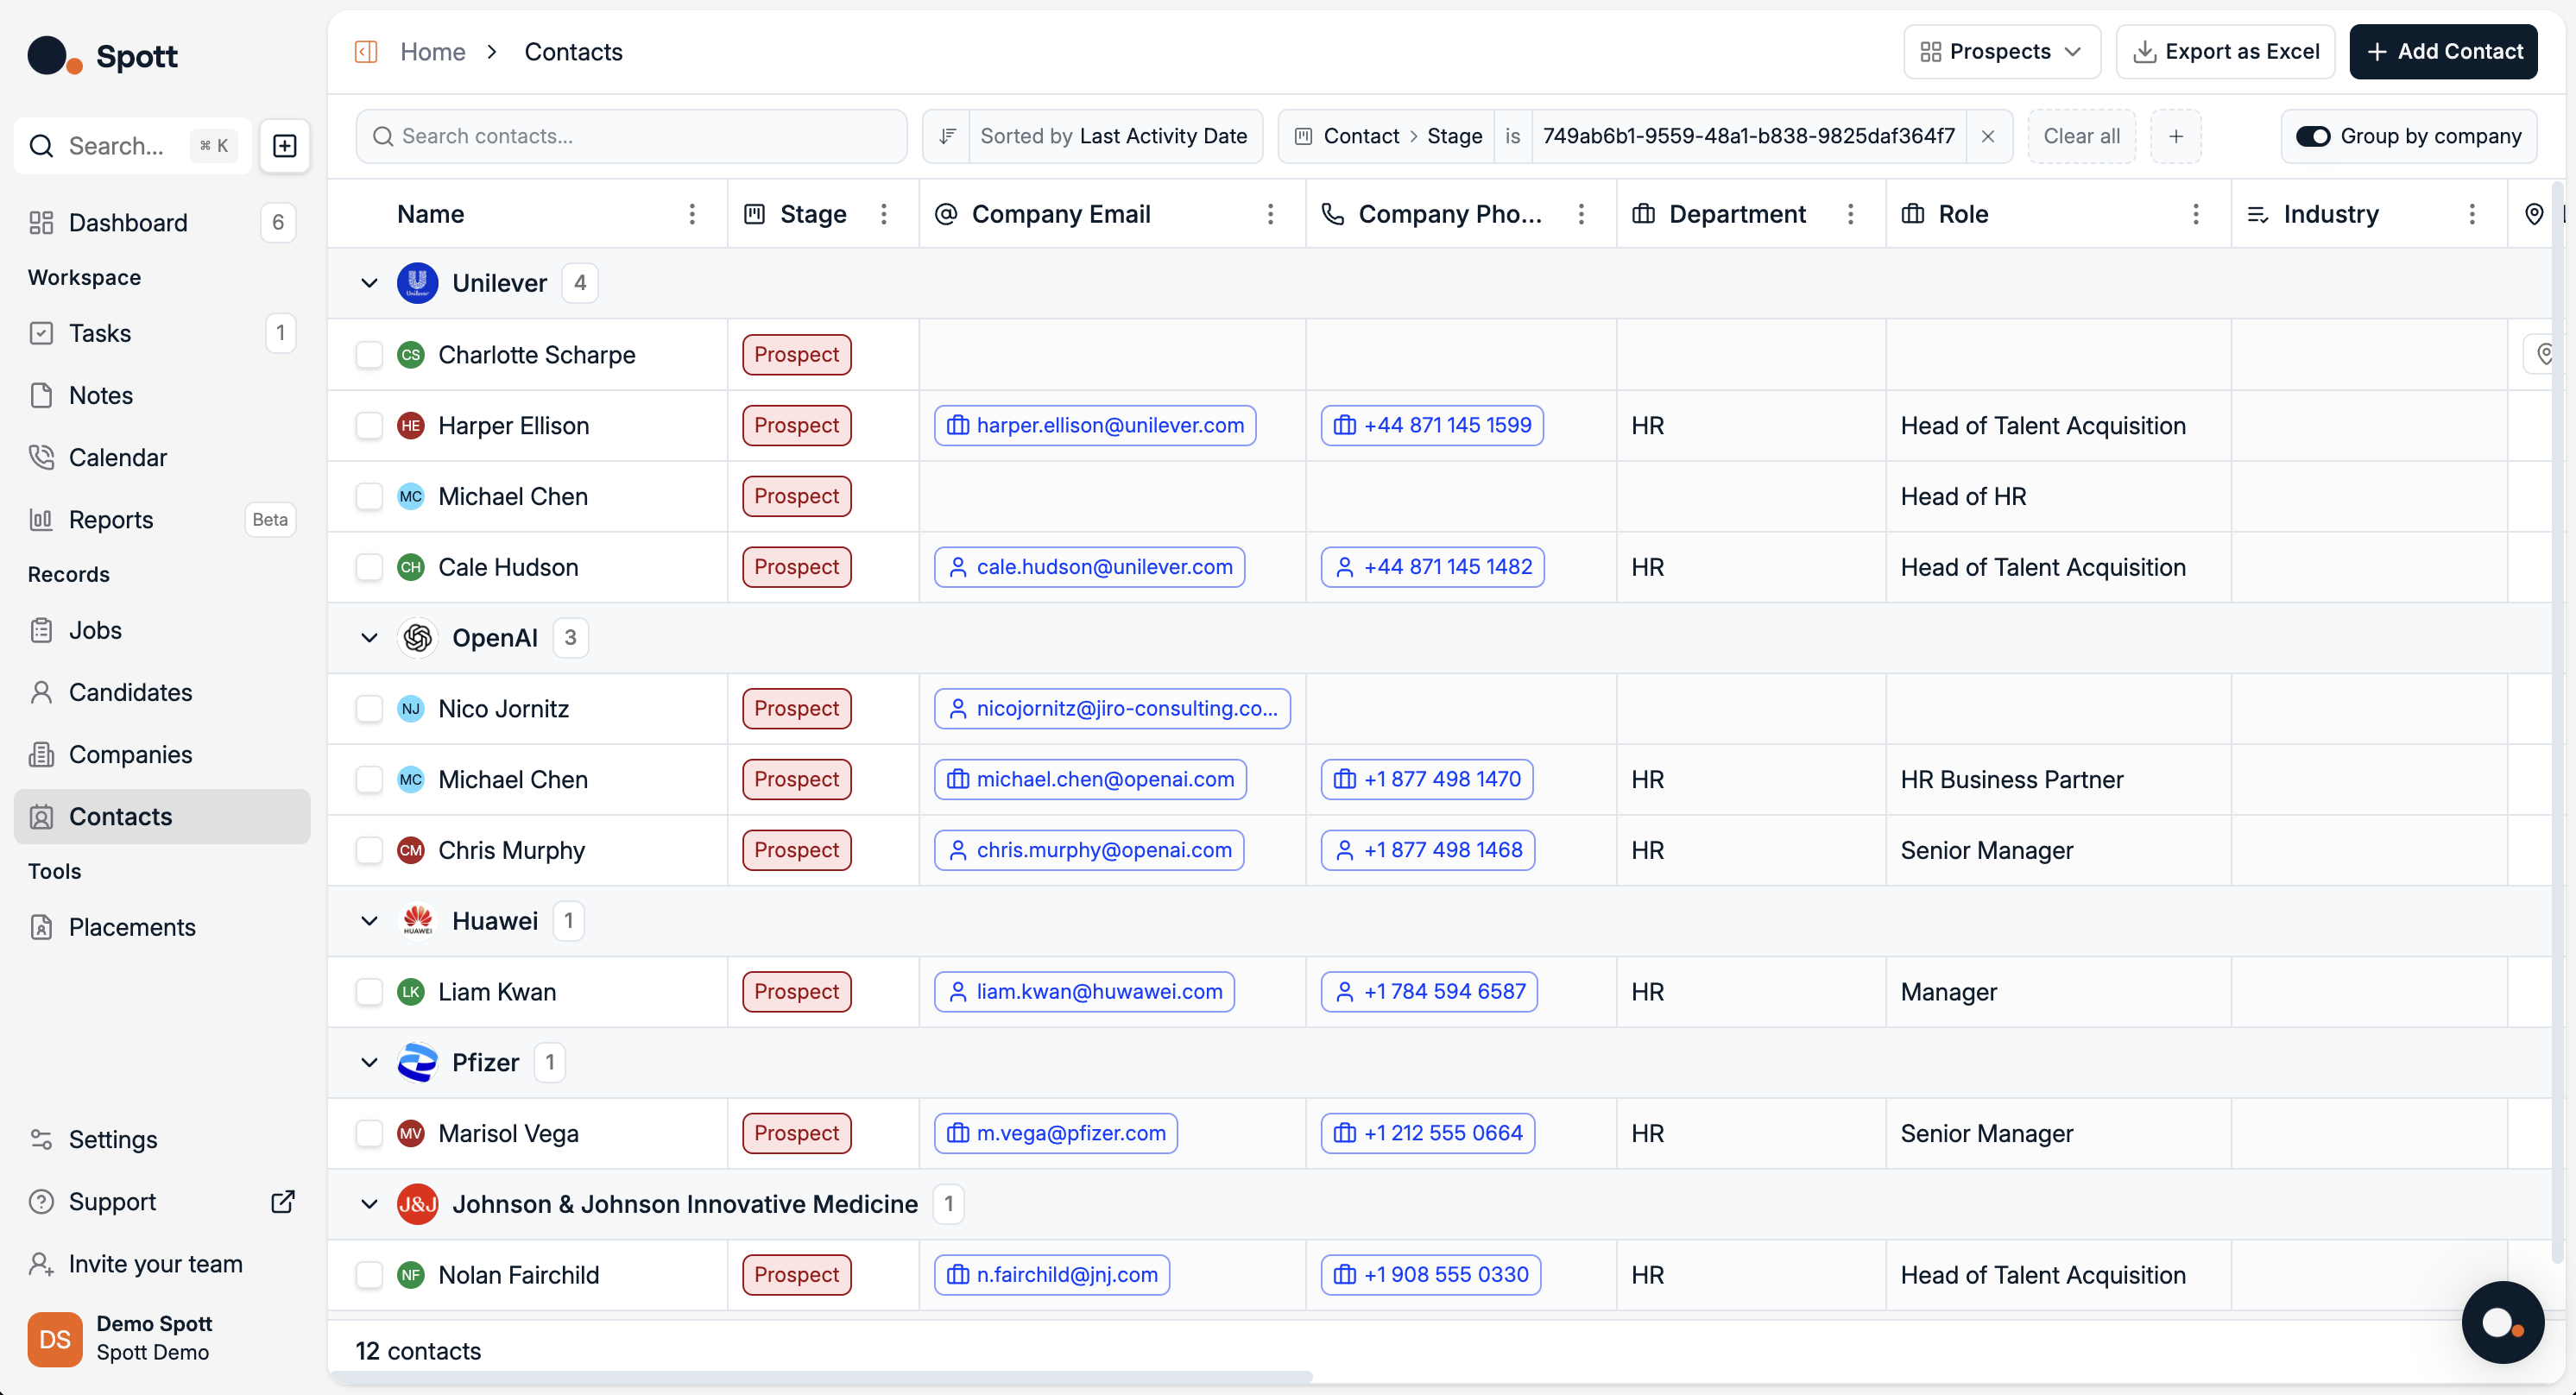
2
Enable or disable client context
At the top-right of the Contacts view, you can toggle Group by company.
- ON – Contacts are grouped under their company name. This makes it easy to view all contacts belonging to the same organization together.
- OFF – All contacts are shown in a single list, sorted according to your chosen sort option (e.g. Last Activity Date), without grouping by company.
Use Group by company when you want to work in a client-centric way and see all related contacts at a glance.
Disable it if you prefer to sort and filter purely by individual contact attributes.
Disable it if you prefer to sort and filter purely by individual contact attributes.
3
Add a new client contact
- Click the Add Contact button in the top-right corner.
- Fill in the key details:
- Name
- Company (the company they belong to)
- Email address
- Phone number
- Main Contact (inside your own organisation)
- Role and Department

4
Manage and link contacts
Once a client contact is created, you can:
- Edit their details directly in the table or in their profile
- Link them to specific jobs
Keeping client contacts up to date ensures you always have the right people connected to the right clients, improving communication and coordination.