1
Make sure Outlook or Gmail are synced with Spott
Before scheduling a new meeting, ensure that your Outlook or Gmail account is synced with Spott:
- In Spott, go to Settings → Accounts.
- Find the Microsoft Outlook or Google Suite integration settings and make sure one of them is connected.
- If not, click Not Synced and follow the login prompts.
2
Enable the Spott calendar scheduler
To allow others to book meetings directly into your connected calendar, you first need to enable the Spott calendar scheduler.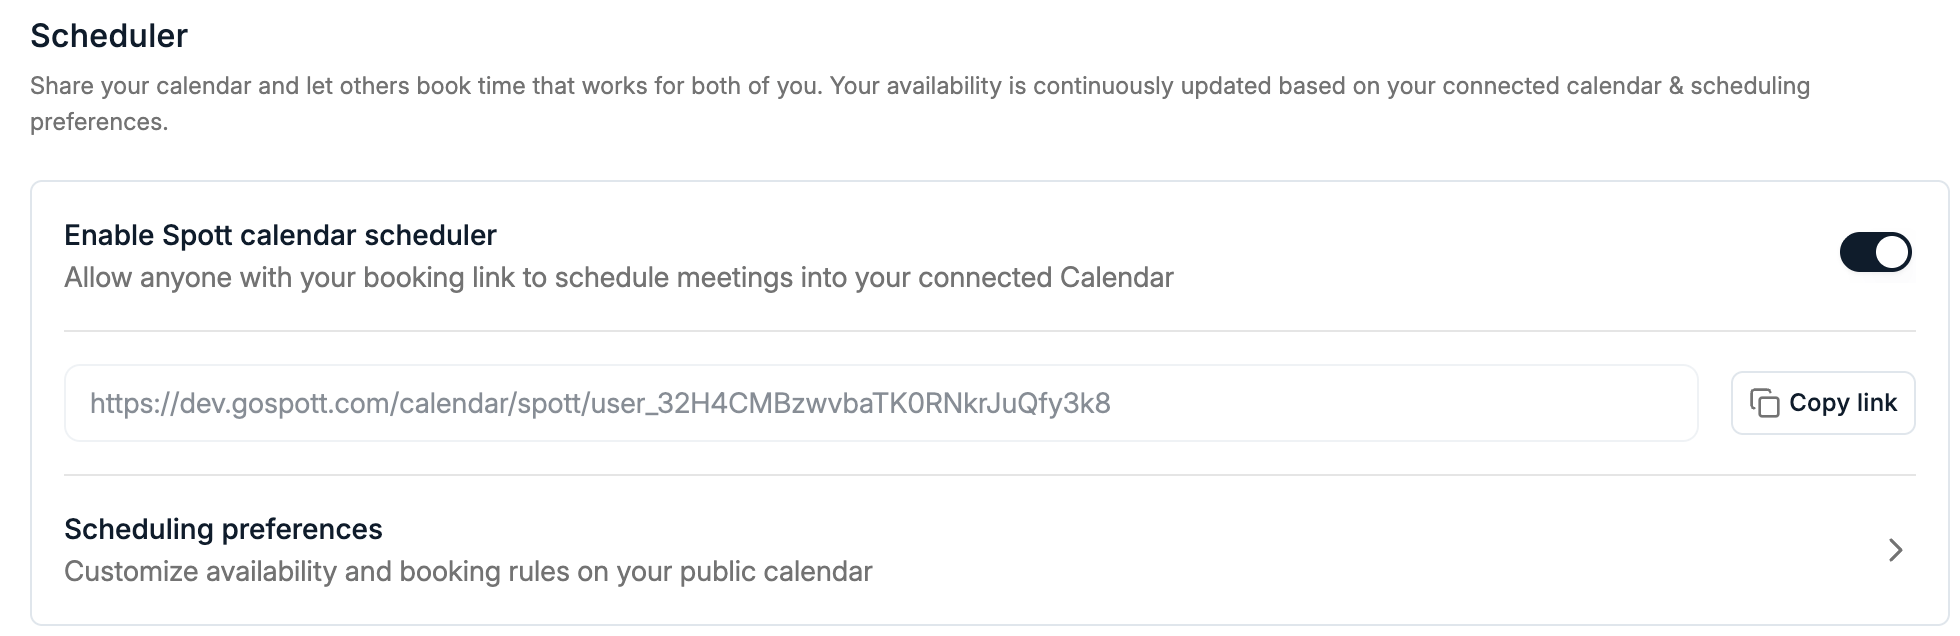
- Go to Settings → Calls.
- Scroll to the Calendar Scheduler section.
- Toggle Enable Spott calendar scheduler.
- Copy your personal booking link and share it with anyone you’d like to allow scheduling time with you.
3
Access your scheduling preferences
You can fully customize your availability and booking rules by going to Settings → Preferences → Scheduling preferences.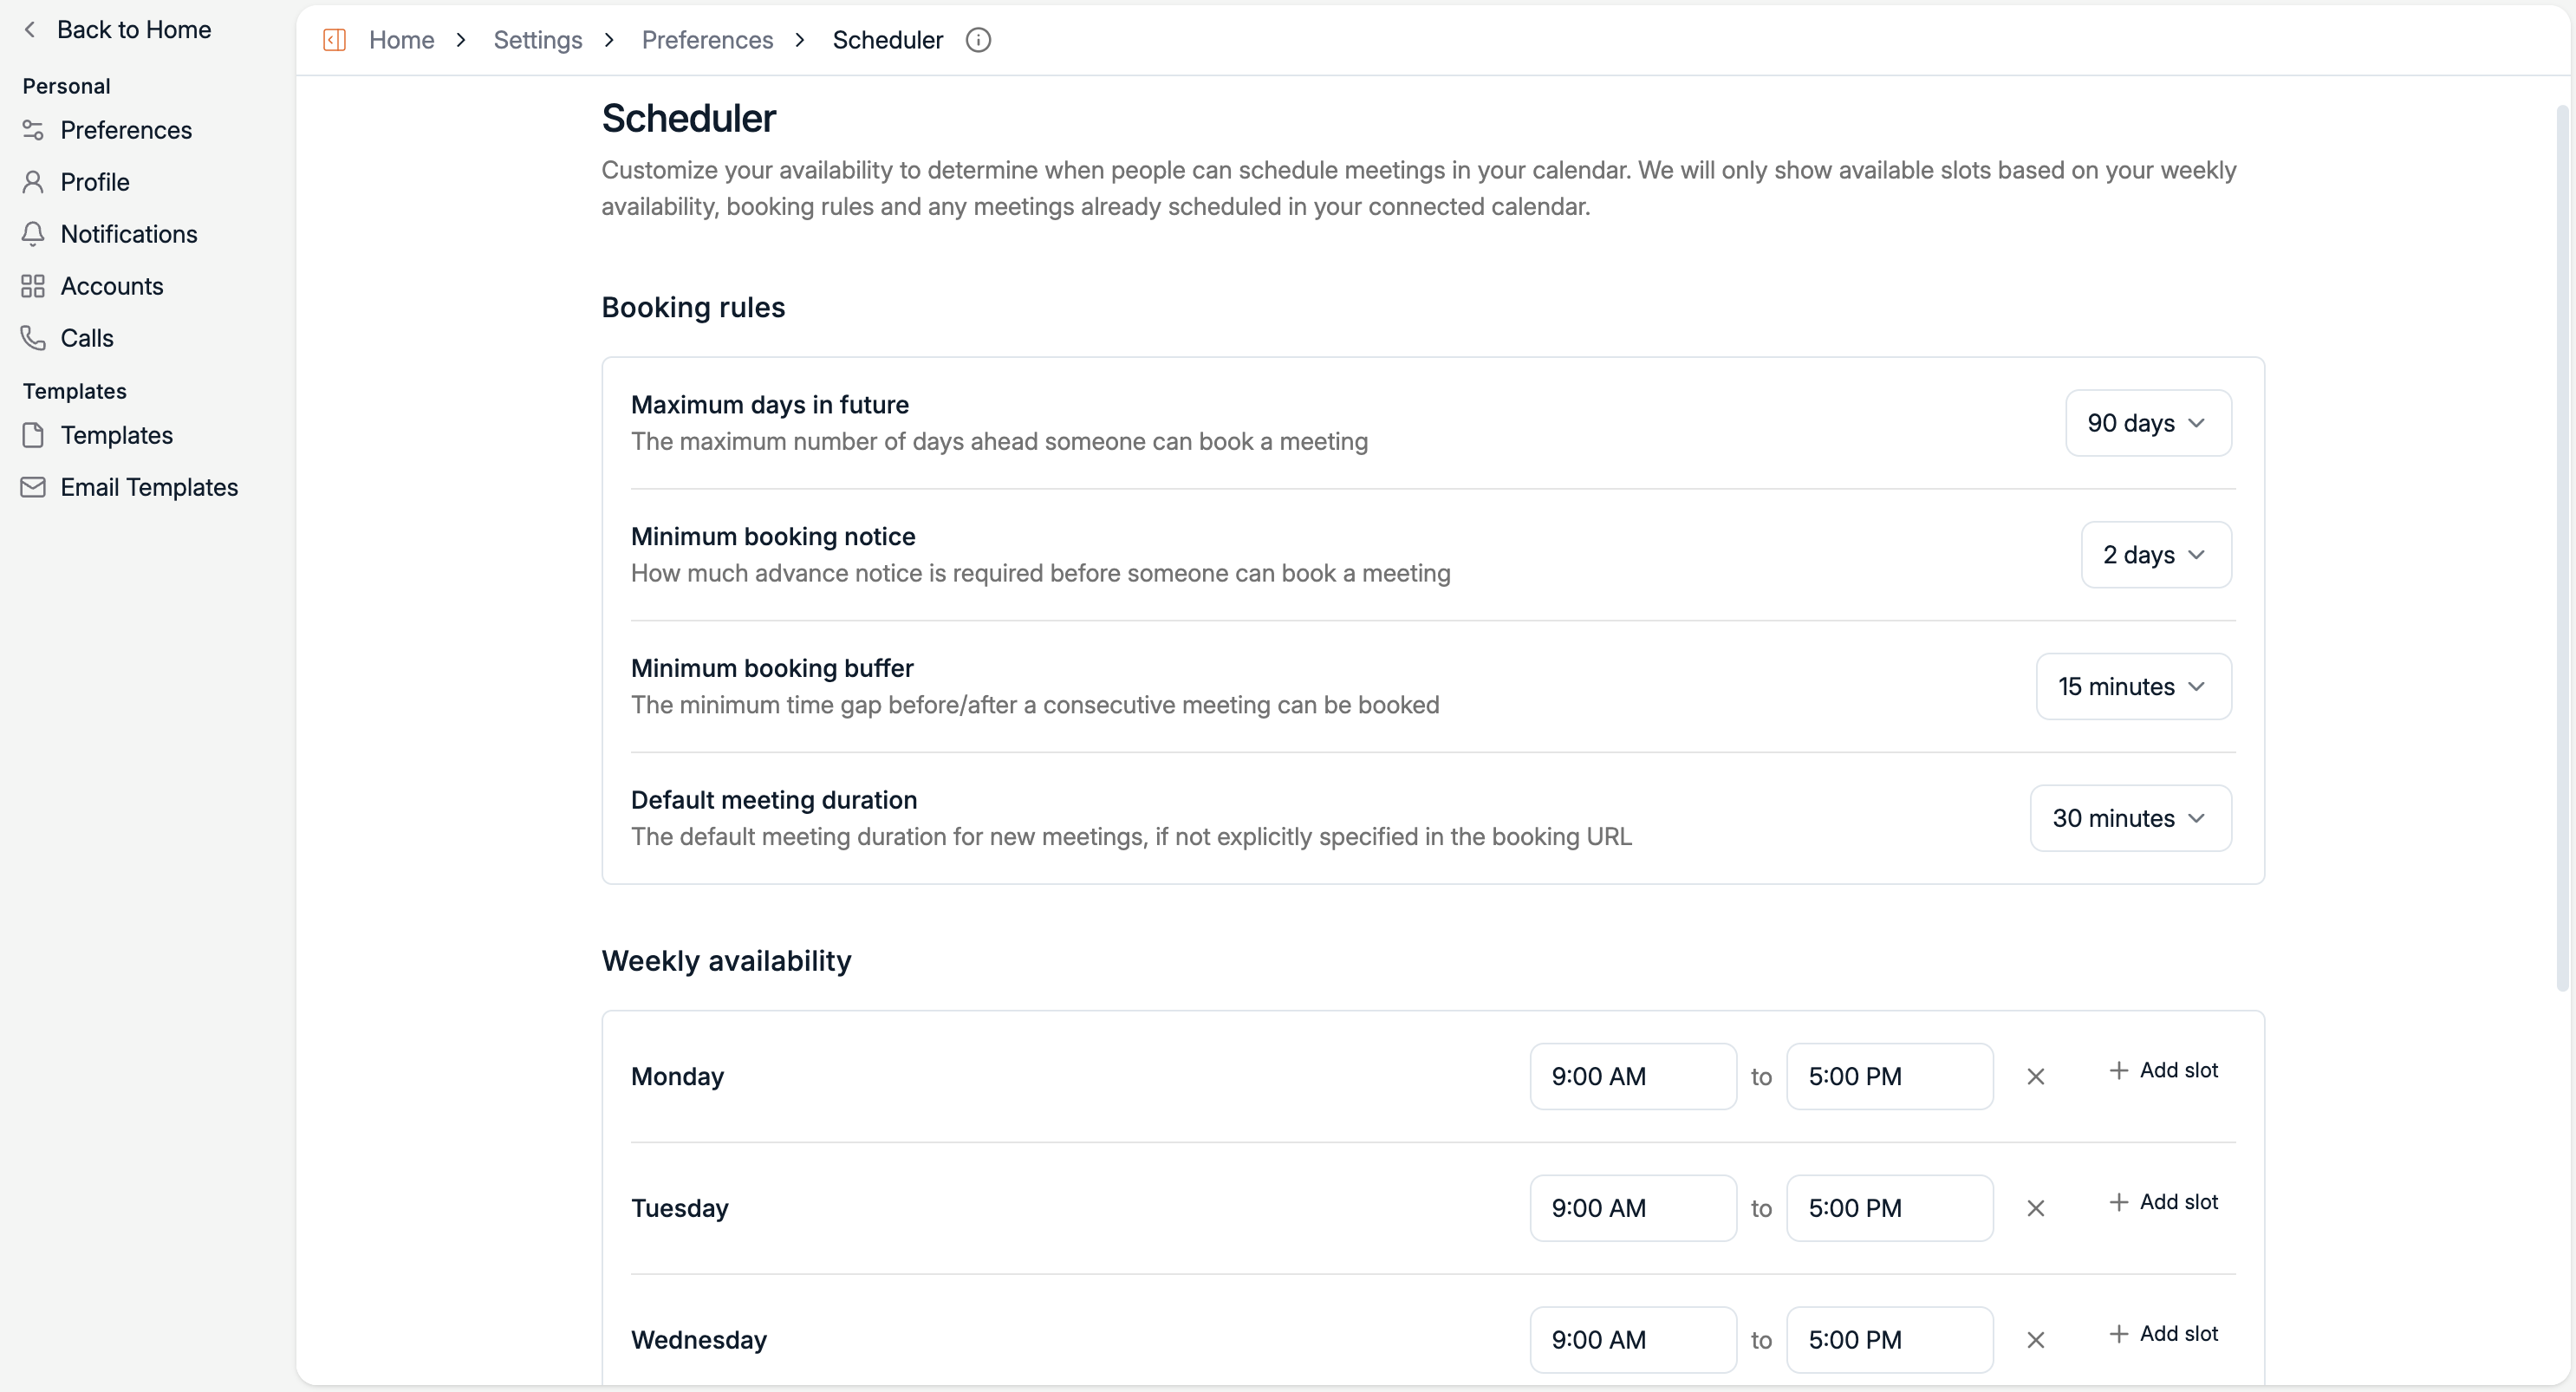
- Maximum days in future – How far ahead someone can book a meeting.
- Minimum booking notice – How much advance notice is required.
- Minimum booking buffer – The minimum time gap before or after another meeting.
- Default meeting duration – The default length of meetings (for example, 30 minutes).
4
Set your weekly availability
Below the booking rules, you can set your available time slots for each day of the week.
- Add one or multiple slots per day (for example, 9:00 AM–12:00 PM and 1:00 PM–5:00 PM).
- Leave a day empty if you do not want to appear available for meetings.
5
Share your booking link
Once your preferences and availability are set, your public scheduling link will automatically reflect them.
- You can find your link under Settings → Preferences → Scheduler.
- Use the Copy link button to share it directly.
- Anyone using your link will only see time slots that are free based on your connected calendar and booking rules.