You can quickly navigate to this page using
Learn more about all shortcuts here.
G then M.Learn more about all shortcuts here.
1
Open the Companies view
From the left-hand navigation bar, select Companies to open your client list.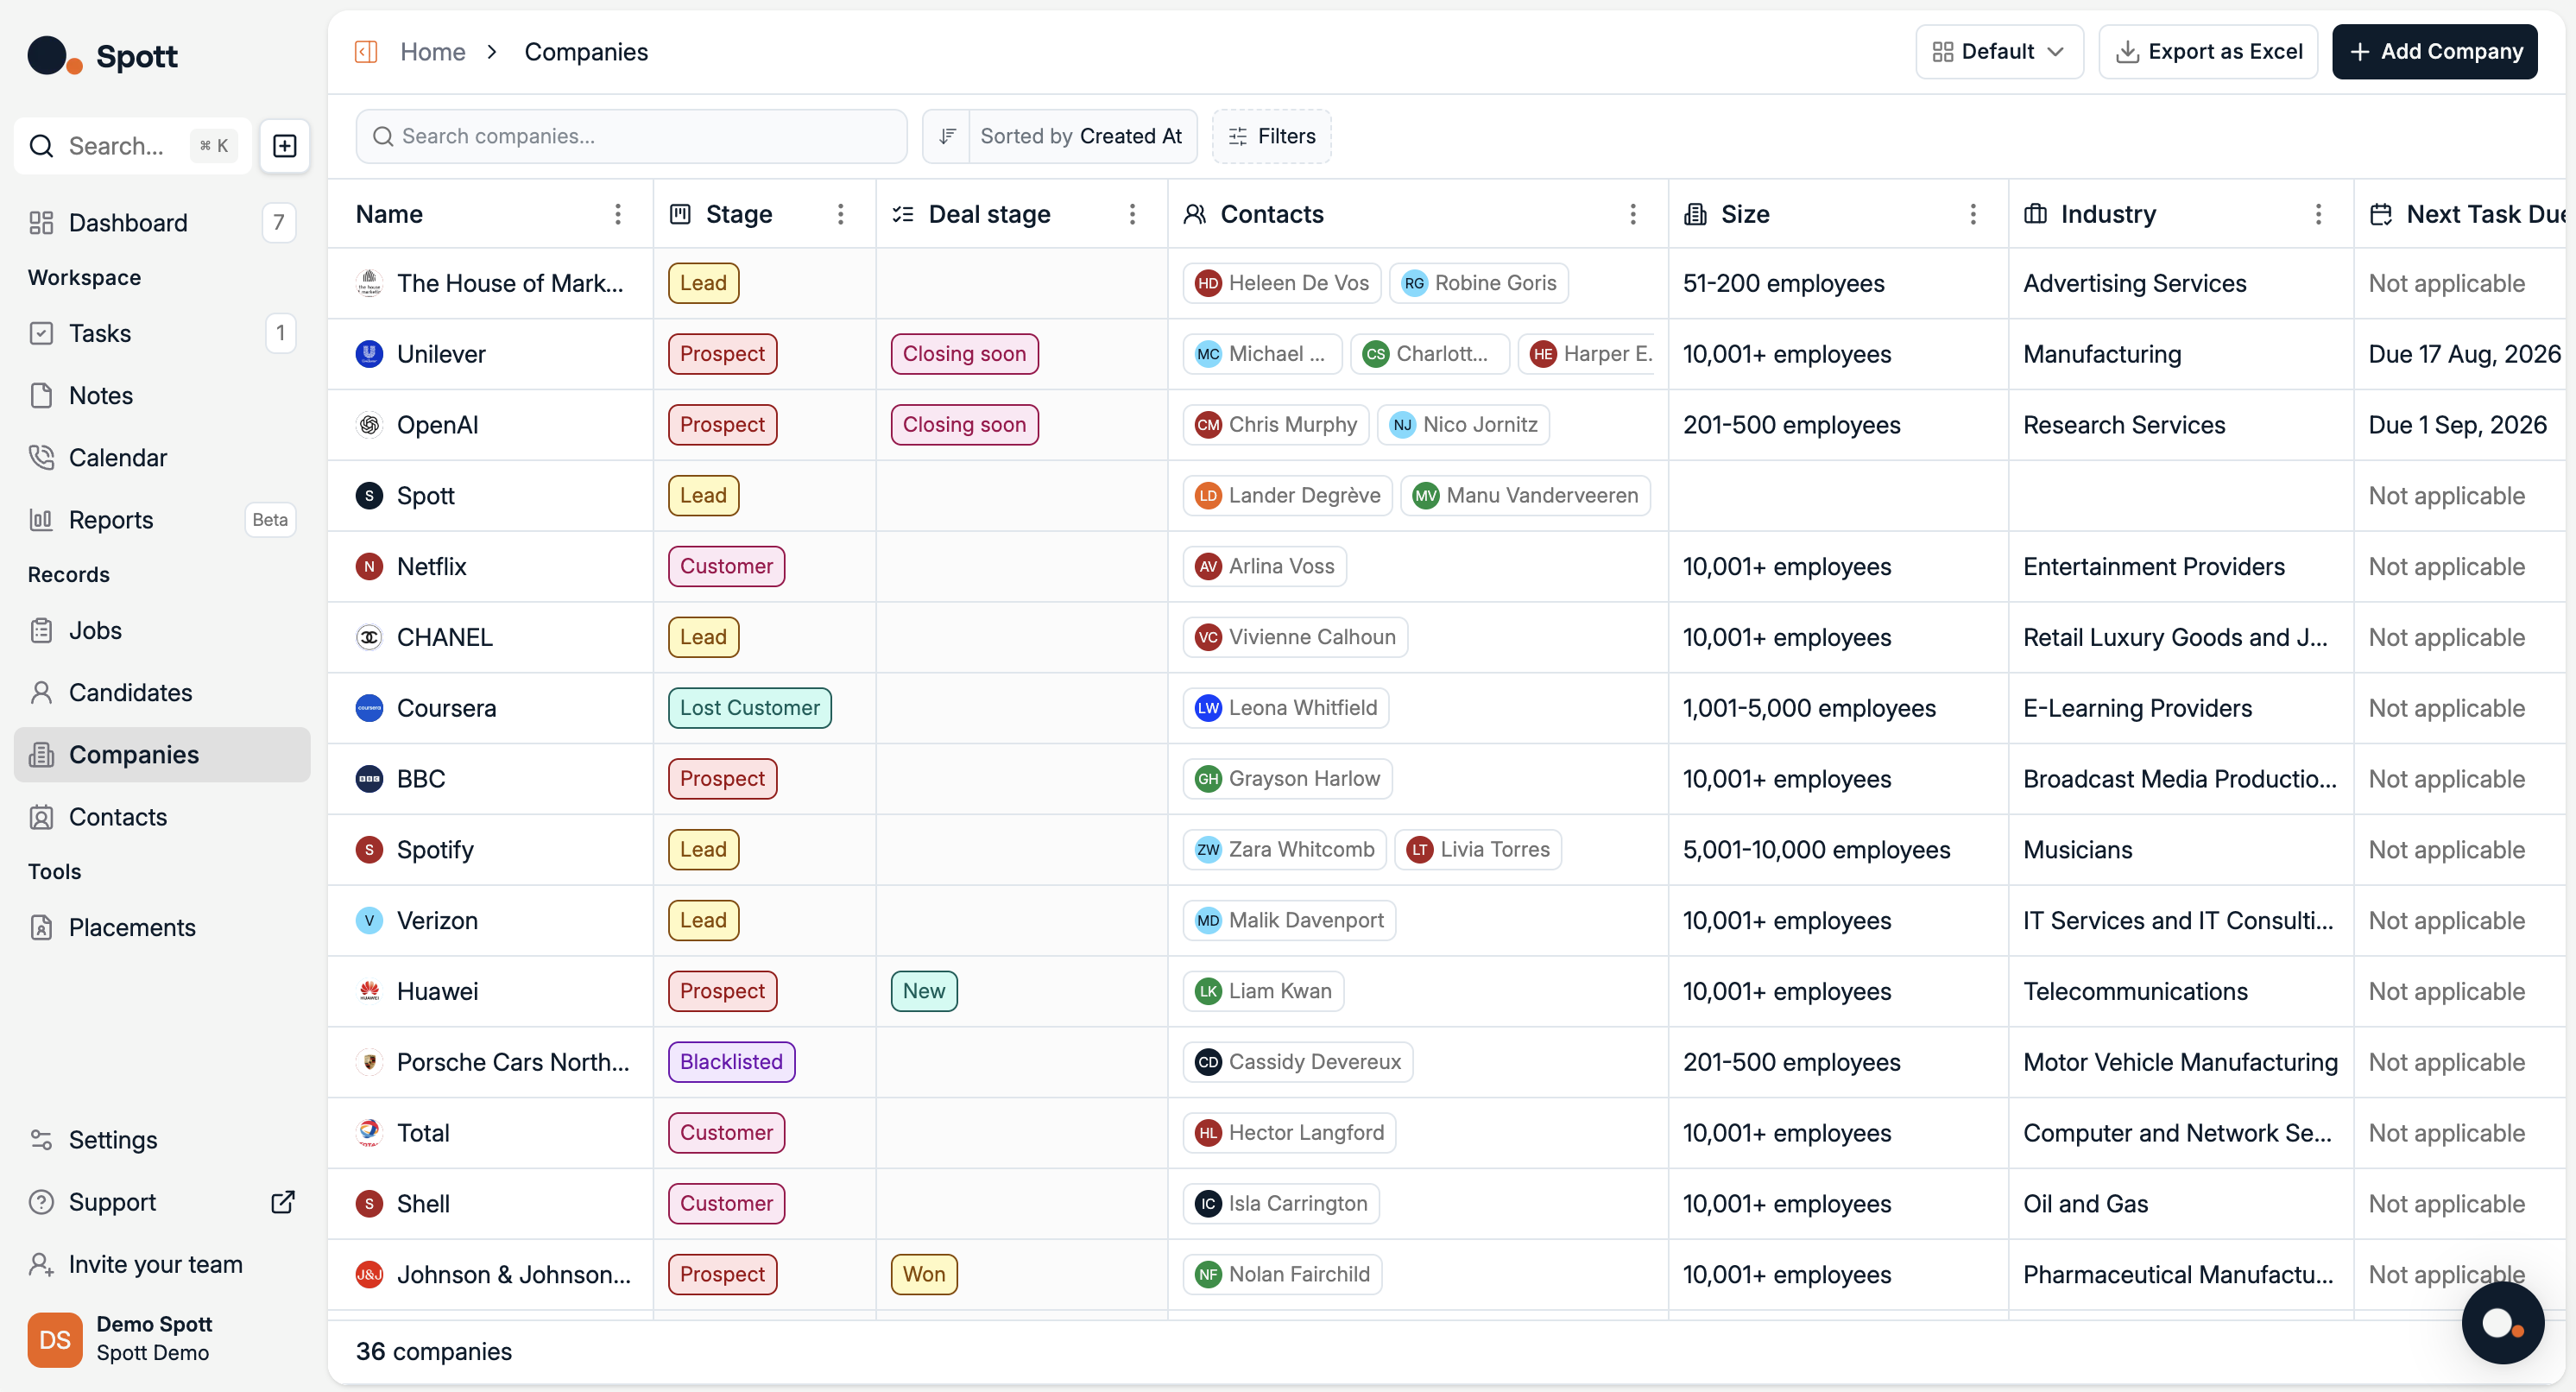
2
Add a new company
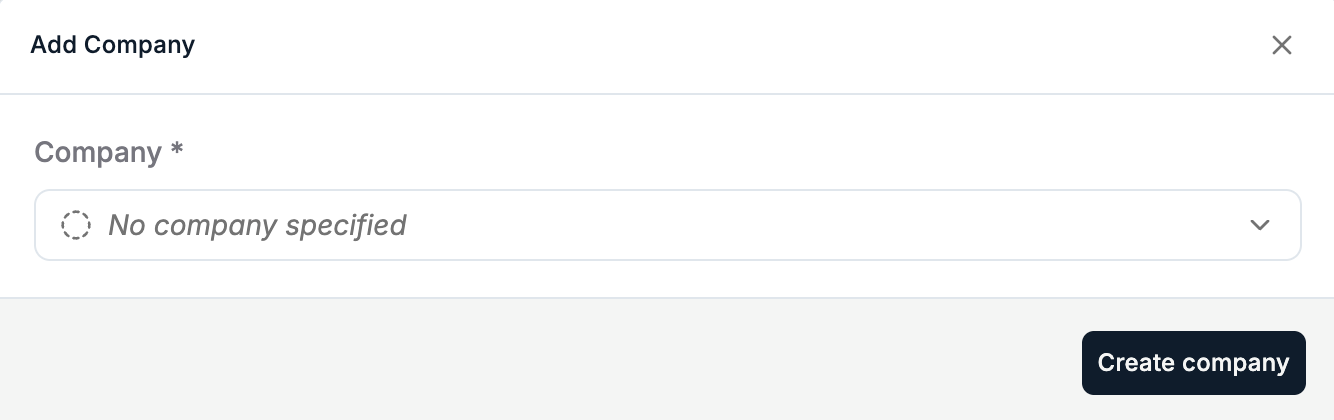
- Click the Add Company button in the top-right corner of the page.
- A pop-up form will appear where you can enter details about the company.
3
Save the company
Once you’ve entered all the necessary details, click Create company to add the new client company to your database.
4
Explore the company record
After creating the company, you can edit and add more information in the company record view.
This view contains five main tabs:
This view contains five main tabs:
- Jobs – Open or past job orders for this client.
- Notes – Internal notes for your team.
- Contacts – People linked to this company.
- Files – Uploaded documents.
- Tasks – To-dos and reminders.
- Placements – Candidates who have been placed at that company.
5
Customise attributes
In the Company Details panel, you can store important information such as Stage, Domain, Industry, Size, and Description.You can also click + Create new attribute to add your own custom fields — for example:
- Contract type
- Account manager
- Strategic priority level
- CRM source
Keeping your client records complete and using custom attributes will greatly improve your ability to search, filter, and report on your client data in Spott.